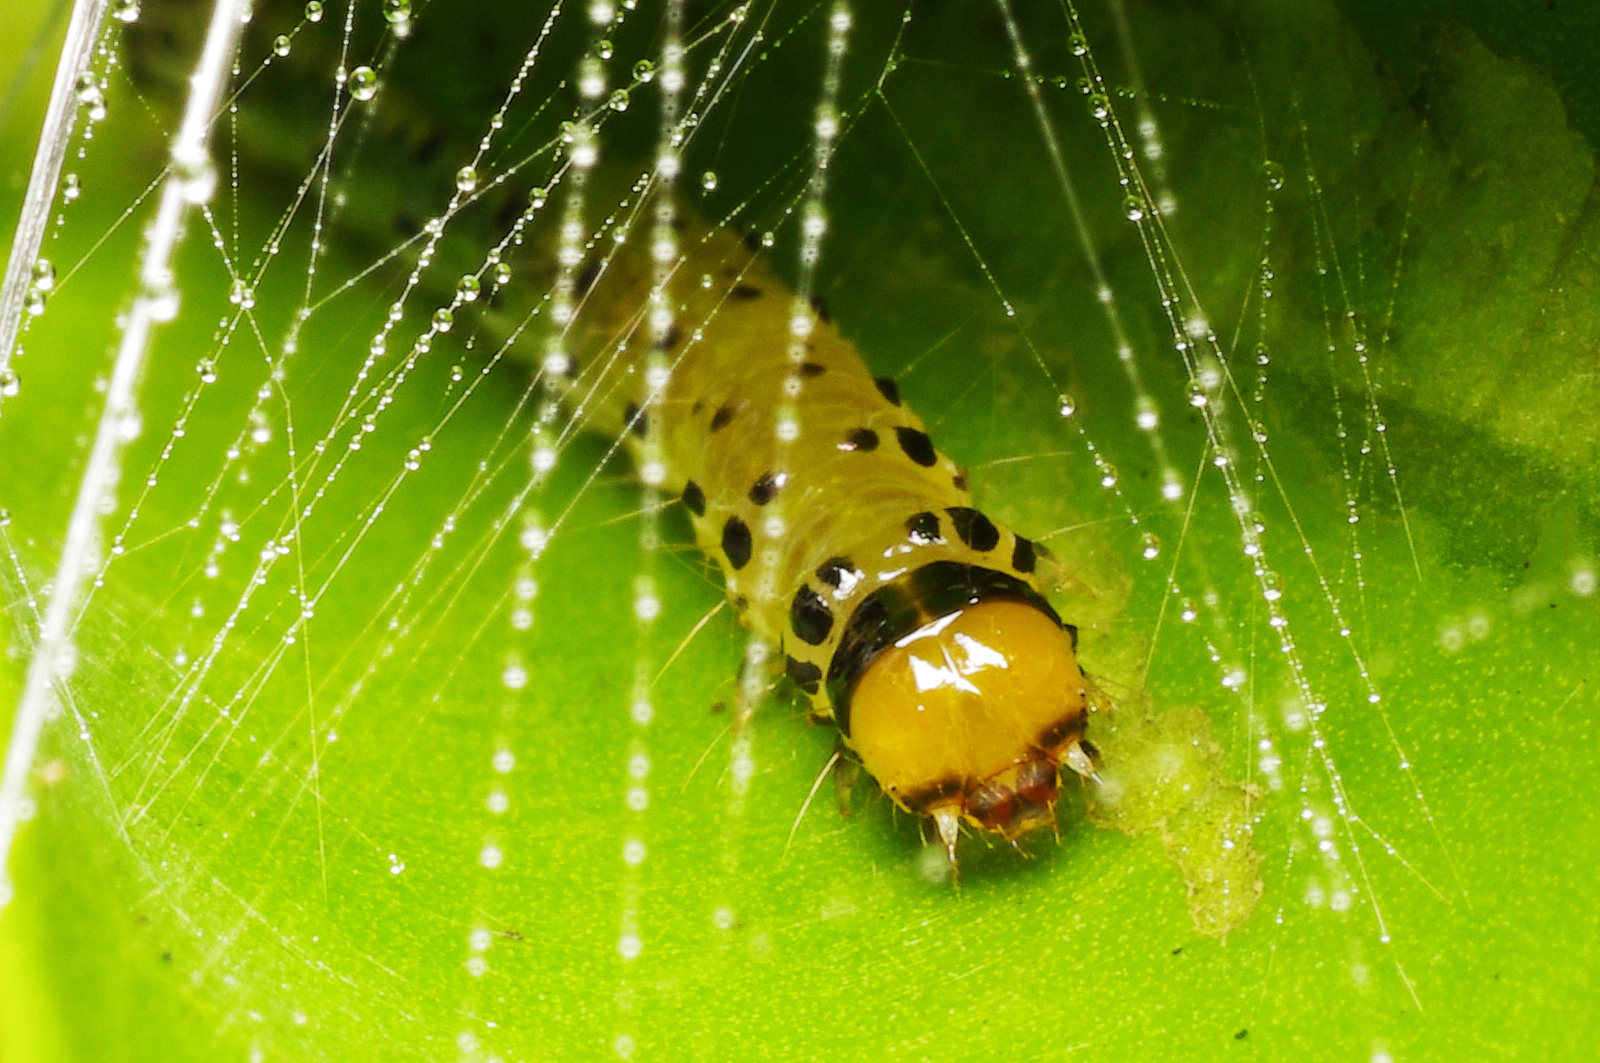
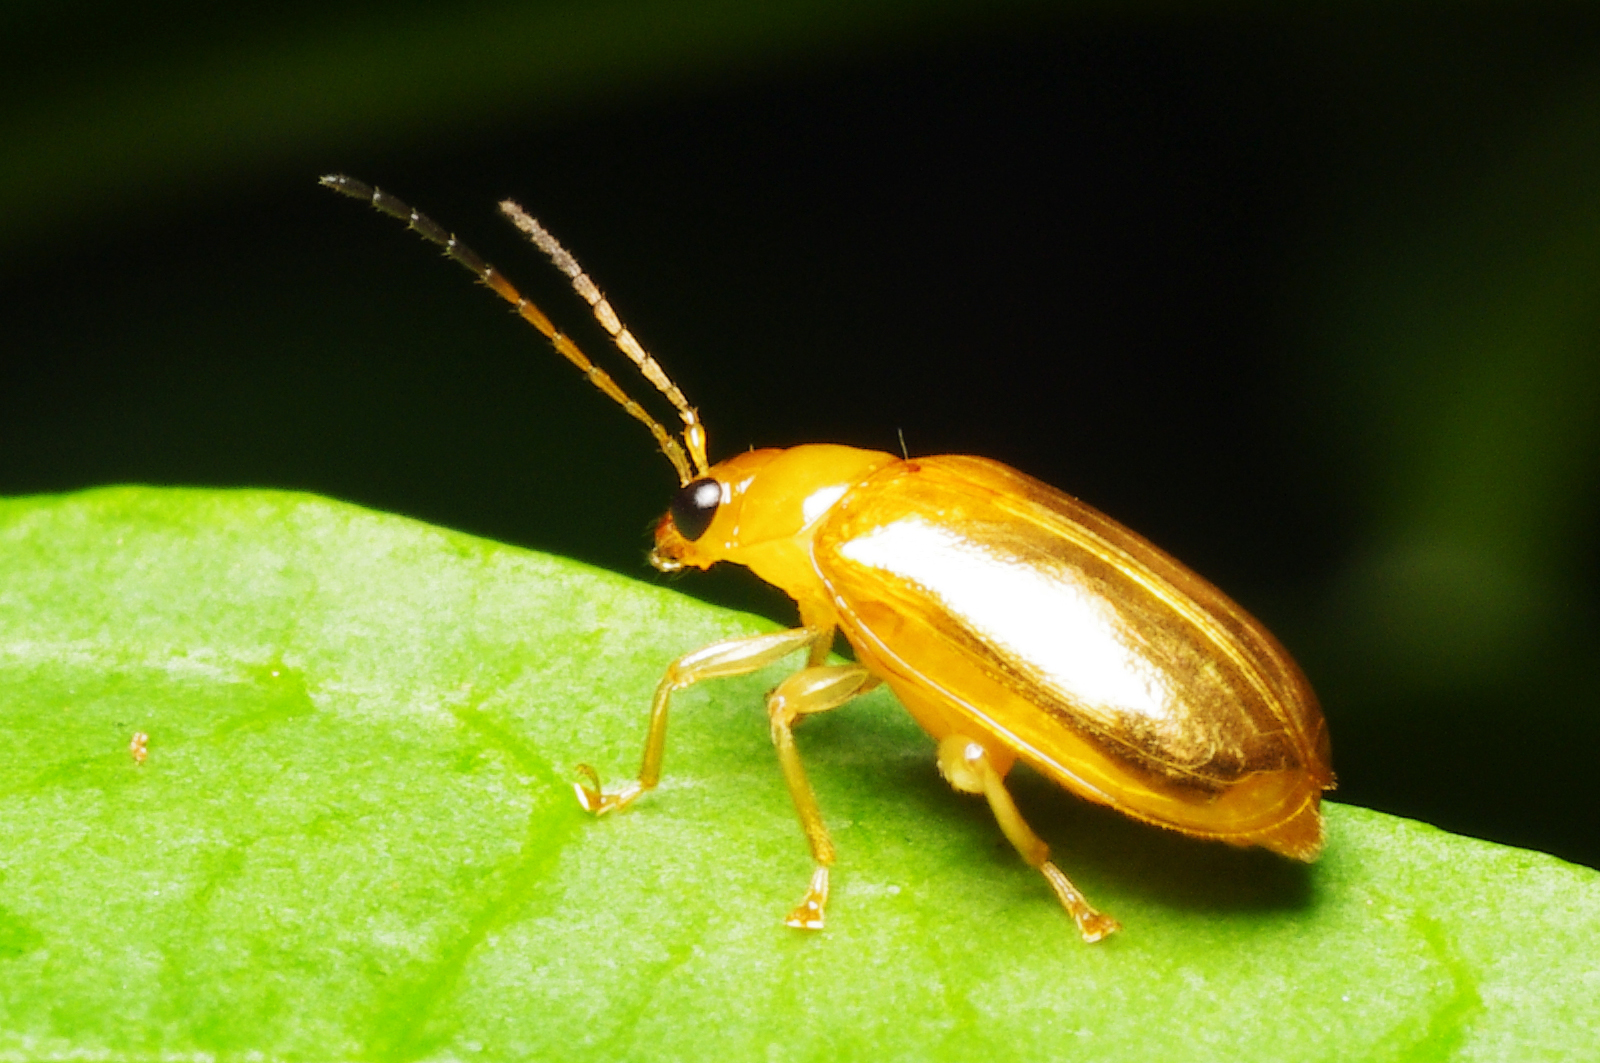
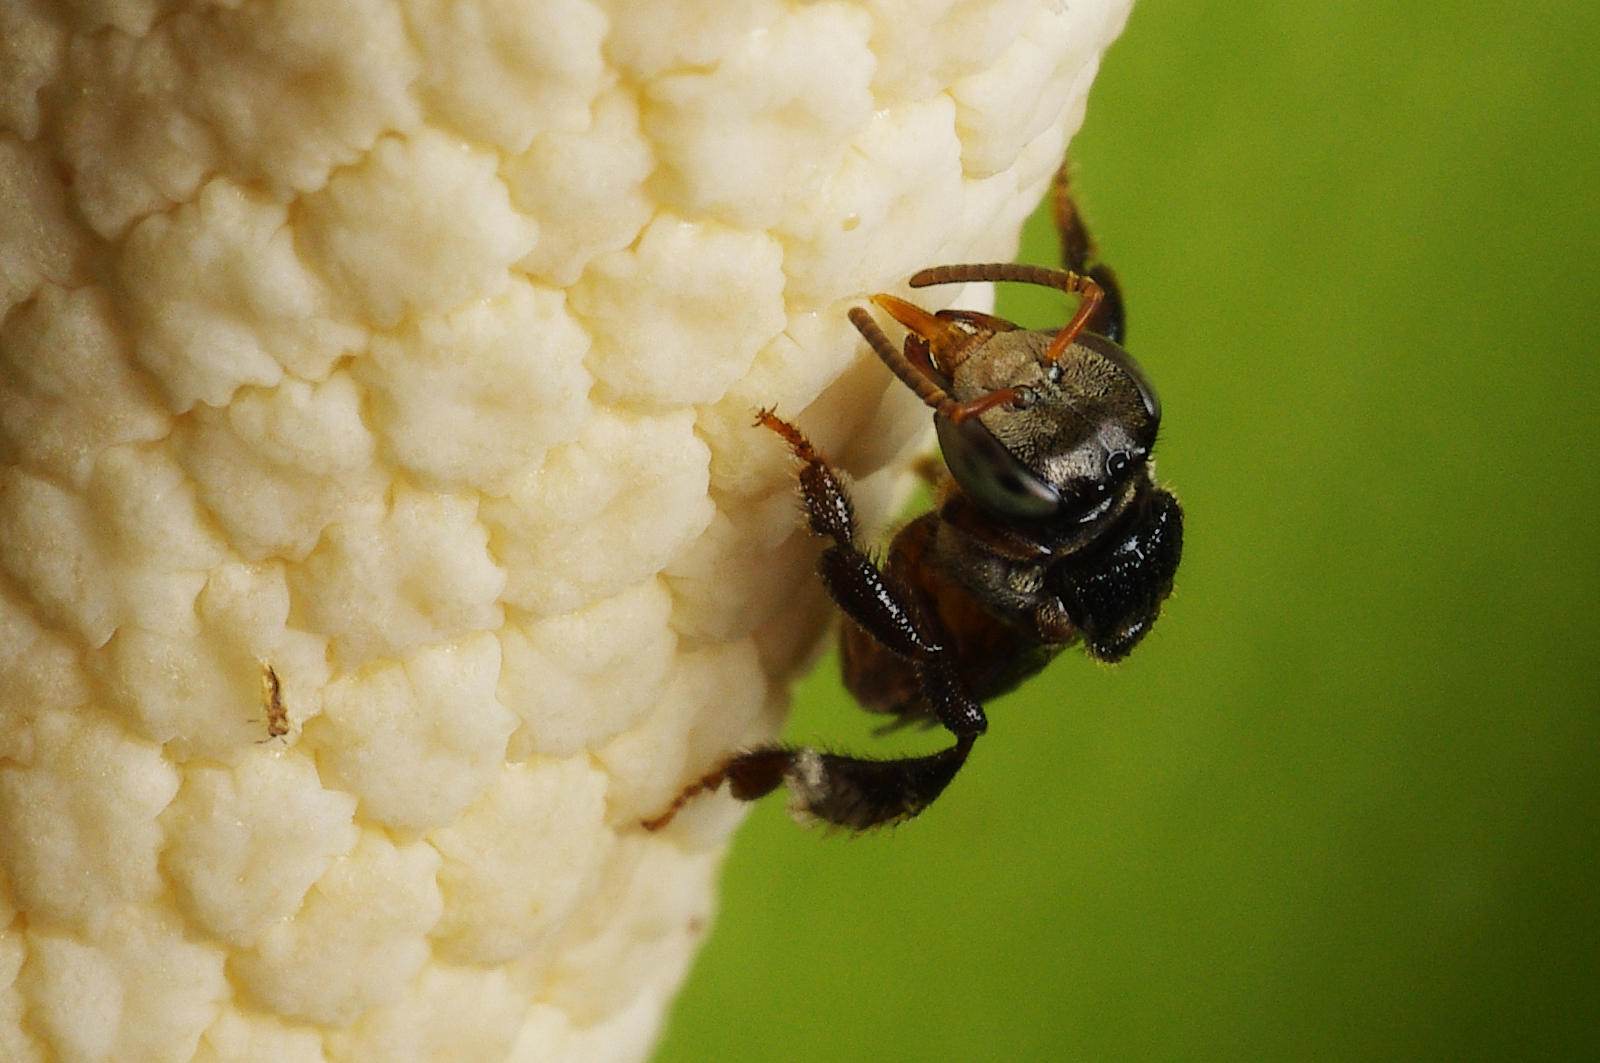
It's almost six month since I bought my DSLR and it has been accumulating dust on its sensor. The dusts are not noticeable when I shoot wide open or at low f-stop number. I notice it only when I shoot macro with f16 or f22. It's quite annoying to see small dots on every macro picture that I took.

I asked quotation for cleaning the sensor from both camera service center and camera repair shop, and they told me the cost is around 30 SGD. I read from the forum that sometimes repair shops only use blower to remove the dust (which is not good, sticky dusts won't disappear) or they do use sensor swab but perhaps the results are not good since there may be still some dusts left on the sensor. So I decide to do it myself. There are few options to clean the sensor: Arctic Butterfly, sensor brush, lenspen for sensor, sensor loupe, sensor swab with eclipse, visible dust swab, and many more. Arctic butterfly will cost me about 170 SGD, sensor loupe about 140 SGD, sensor swab with eclipse about 90 SGD, and visible dust swab about 30 SGD. Arctic butterfly is not within my budget, so I decided either to buy sensor swab or visible dust. In the end I bought visible dust. It came with 4 one-time use-only swabs and small bottle of cleaning liquid. Sensor swab came with 12 swabs and one big bottle of eclipse cleaning liquid (the liquid itself will cost me about 20 SGD). I was quite nervous to do this cleaning myself, since there is risk that I may scratch the sensor and render my DSLR useless.
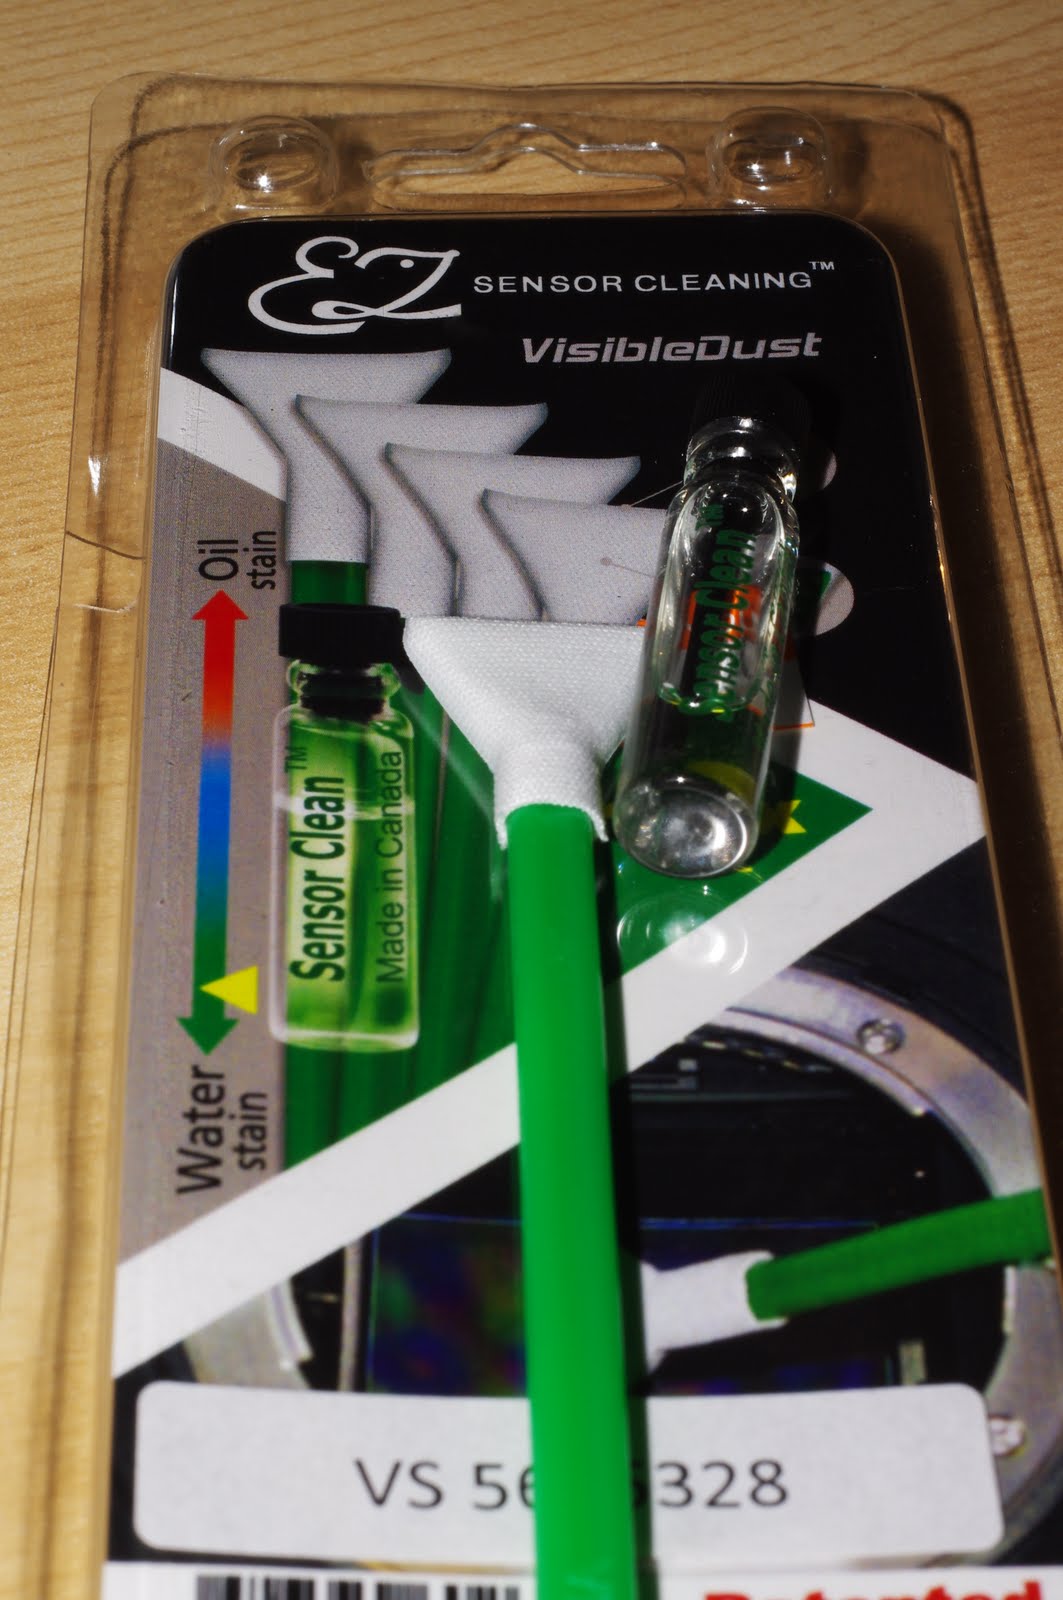

First I turned off the aircons and fan to make sure no circulating air that may carry dusts. I saw on the internet, that bathroom is a good place since the number of dusts is lesser there than any other room. But I didn't follow that suggestion. I changed a new battery for my DSLR, turned it on, and chose "Sensor Cleaning" menu, then the mirror's opened up, I could see the sensor inside. I took one swab and put a few drops of cleaning liquid on it, cleaned the sensor from one side to the other side with left side of the swab, and back with the right side of the swab. I turned of my DSLR to let the mirror closed, tried to shoot at f22 with flash, and the big dust was gone, but I could still see few dusts, so I started again the process and hoped that there wouldn't be any dust anymore.
Before sensor cleaning :

After sensor cleaning :

Tada.... Sadly there's still small dust left on the top right corner. I have already used two swabs, I guess it's enough, I'll save the last two swabs for next month. I think I will need a sensor loupe since it will be easier to check the leftover dust without a need to put on lens and shooting at f22. I was happy enough not scratching my sensor (or perhaps I did scratch it), let's wait :)
Before sensor cleaning :

After sensor cleaning :

Tada.... Sadly there's still small dust left on the top right corner. I have already used two swabs, I guess it's enough, I'll save the last two swabs for next month. I think I will need a sensor loupe since it will be easier to check the leftover dust without a need to put on lens and shooting at f22. I was happy enough not scratching my sensor (or perhaps I did scratch it), let's wait :)